In December I made this video from my summer trip to Lapland. I was not very satisfied with it, though the main problem was that I messed up some clips by filming them with too fast a shutter speed (newbie mistake). Also loosing my tripod head in the beginning of the trip led limited the possible filming angles.
When I got the Sony Vegas Movie Studio 11, I though about giving another shot at the fairly limited raw material. The result is seen here.
I'm not fully satisfied with this one either. The uneven motion caused by using too fast a shutterspeed is very visible in some places and even seems to have become worse in the Vimeo version. The few places where I'm holding the camera while riding look rather unsharp after having been processed with the Vegas stabilizer tool.
Comments? Which one is better and why? What could be improved?
Showing posts with label Software. Show all posts
Showing posts with label Software. Show all posts
Wednesday, April 25, 2012

Thursday, March 29, 2012
Some progress
I finished the video from the snow crust overnighter in the beginning of March some time ago. When I started editing it, I almost immediately noticed that I lacked some shootage, but I guess this is normal and is part of the learning process. Maybe a good idea would be to actually do some concrete planning. While I did have some ideas when setting out, I had no real plan. The result is this (to be viewed fullscreen with a higher video resolution):
I also lacked the suitable step-up rings for the ND filters, so the parts where there is lots of light might not have as good quality as possible. I think with an f-value of around 18, the diffraction might actually affect the sharpness even in video resolution. Since this video, made when I had owned the camera for just a few days and did not really know how to use it, I've changed my settings for the camera video mode. This should give better head room for applying small corrections in the video editor.
One of the things I'm still learning is what shutter speed to use in different situations. The general rule is to use a shutter speed twice that of the frame rate, i.e. for 25 fps the shutter speed should be 1/50, which does limit you quite a bit and necessitates the use of ND filters for many situations. I think one can get away with higher shutter speeds when an object is mainly view from or towards the camera, but for panning or objects moving across the picture a fairly slow shutter speed is necessary, especially when using a frame rate of 25 fps (and I have my reasons for that). The clip below demonstrates what happens when the shutter speed is too high. It was shot during my Tour de Pöyrisjärvi last summer, but did not make it into the video, since the movement is much too stuttery.
For video editing I've settled for the Sony Vegas Movie Studio HD Platinum 11, which I bought in a suite that gave some sound editing tools and other stuff as well. It gives a lot of features for a modest price, but takes a while to get used too. I think I'm getting the hang of it, but there are still lots of details I'm not sure about. E.g. the book DSLR Cinema mentions that transcoding (converting) the AVCHD clips made by the camera to a more editor friendly format using e.g. MPEG Streamclip is necessary to get the best color correction possibilites, something which sounds completely wrong in my opinion. This just shows that I have a lot to learn.
Finally, it is perfectly clear that YouTube pretty much destroys the technical quality of the videos. I wonder if Vimeo would give better results?
I also lacked the suitable step-up rings for the ND filters, so the parts where there is lots of light might not have as good quality as possible. I think with an f-value of around 18, the diffraction might actually affect the sharpness even in video resolution. Since this video, made when I had owned the camera for just a few days and did not really know how to use it, I've changed my settings for the camera video mode. This should give better head room for applying small corrections in the video editor.
One of the things I'm still learning is what shutter speed to use in different situations. The general rule is to use a shutter speed twice that of the frame rate, i.e. for 25 fps the shutter speed should be 1/50, which does limit you quite a bit and necessitates the use of ND filters for many situations. I think one can get away with higher shutter speeds when an object is mainly view from or towards the camera, but for panning or objects moving across the picture a fairly slow shutter speed is necessary, especially when using a frame rate of 25 fps (and I have my reasons for that). The clip below demonstrates what happens when the shutter speed is too high. It was shot during my Tour de Pöyrisjärvi last summer, but did not make it into the video, since the movement is much too stuttery.
For video editing I've settled for the Sony Vegas Movie Studio HD Platinum 11, which I bought in a suite that gave some sound editing tools and other stuff as well. It gives a lot of features for a modest price, but takes a while to get used too. I think I'm getting the hang of it, but there are still lots of details I'm not sure about. E.g. the book DSLR Cinema mentions that transcoding (converting) the AVCHD clips made by the camera to a more editor friendly format using e.g. MPEG Streamclip is necessary to get the best color correction possibilites, something which sounds completely wrong in my opinion. This just shows that I have a lot to learn.
Finally, it is perfectly clear that YouTube pretty much destroys the technical quality of the videos. I wonder if Vimeo would give better results?
Sunday, September 18, 2011
Time lapsing
I went out for a short bikepacking overnighter this weekend and thought it would be a good opportunity to test the video capabilities of the Olympus E-P2. I also took my first try in time lapse photography. I downloaded the CHDK firmware kit and the Ultra Intervalometer script for my Canon S90. After some initial problems and misunderstandings I got it to work (you just have to wait for the lens to be retracted in playback mode before you can start the enhanced firmware). I took a small light tripod and put the S90 on it, pointed towards the sunset (and sunrise in the morning). The camera was set to take rather small 4 MP jpeg:s with a fixed white balance and exposure. The intervalometer was set to take one exposure every ten seconds.

At home I used Lightroom to batch crop the images to 16:9 proportion and exported them as 1280x720 sized pictures suitable for the lower HD resolution which the E-P2 camera uses. The resulting image sets were then converted to AVI format using VirtualDub. I then ran the resulting AVI files through MPEG Streamclip to get a compression that did not cause visible moving color gradients. Finally I used Windows Live Movie Maker put together a movie from these time lapse clips and some other shorts clips I had filmed.
The time lapses turned out fairly good, though I think the ten second interval was too long. Next time I'll have to try something shorter. There is also still a lot to learn about how to use the CHDK efficiently.
The video quality of the E-P2 does not seem to far from that of the EOS 60D, despite the lower HD resolution. The actual resolution of the 60D video was probably quite far from 1920x1080. This time I only used the fully automatic mode when filming the videos, though the E-P2 should also allow fully manual settings. I will have to learn those as well. The Windows Live Movie maker does have some limitations: When including still pictures in the video, it for some reason gets rid of any sharpness pretty efficiently. It also does not allow exporting in the lower 1280x720 HD resolution, so I had to save it in the higher resolution, which does not make sense. A better video software would be nice, but currently I'm not doing enough videos to justify it.
At home I used Lightroom to batch crop the images to 16:9 proportion and exported them as 1280x720 sized pictures suitable for the lower HD resolution which the E-P2 camera uses. The resulting image sets were then converted to AVI format using VirtualDub. I then ran the resulting AVI files through MPEG Streamclip to get a compression that did not cause visible moving color gradients. Finally I used Windows Live Movie Maker put together a movie from these time lapse clips and some other shorts clips I had filmed.
The time lapses turned out fairly good, though I think the ten second interval was too long. Next time I'll have to try something shorter. There is also still a lot to learn about how to use the CHDK efficiently.
The video quality of the E-P2 does not seem to far from that of the EOS 60D, despite the lower HD resolution. The actual resolution of the 60D video was probably quite far from 1920x1080. This time I only used the fully automatic mode when filming the videos, though the E-P2 should also allow fully manual settings. I will have to learn those as well. The Windows Live Movie maker does have some limitations: When including still pictures in the video, it for some reason gets rid of any sharpness pretty efficiently. It also does not allow exporting in the lower 1280x720 HD resolution, so I had to save it in the higher resolution, which does not make sense. A better video software would be nice, but currently I'm not doing enough videos to justify it.
Thursday, September 1, 2011
Downsizing
I'm now selling my Canon DSLR gear and will move entirely into a MFT system instead. The EOS 60D with the 15-85 mm lens gives excellent quality both for photography and video, but it is large and heavy. I also have some other lenses for it (a 100 mm macro, 50 mm standard lens and a Sigma APO Macro 400/5.6 telephoto lens), but it is simply too much for me at this moment. I don't have time to do any really serious photography and mostly use the camera at various outdoor excursions. A lighter system would suit me a lot better and I have now found a good system. I bought a Olympus PEN E-P2, 14-42mm / 3.5-5.6 Mk II kit lens, the 40-150mm / 4-5.6 lens and the electronic viewfinder EV-2 for a very reasonable price, since the new version E-P3 has just come out. This set weighs a bit less than just the 60D body and covers a nice focal range, 28-300 mm in 35 mm equivalent. I plan to complement the kit by bying the 9-18 / 4-5.6 widangle zoom, which is also very small. According to most tests, these lenses actually have quite good an image quality, not Canon L class quality, but still good.
Compared to the EOS 60D with the 15-85mm / 3.5-5.6 lens the new kit is much smaller. The lens in the middle is the 40-150 mm lens. In real life the difference seems even bigger.


The technical image quality is lower in the Olympus MFT system. With sensors of equal quality per surface area, the MFT will give worse quality since it is smaller. With Olympus being a step behind in sensor technology the difference is even bigger. But does it matter? With the pictures from last weekend, I think that you would have to print at a size larger than A3 to start to see any differences, and the quality would probably be very good even at larger sizes. The real difference comes when it is dark and you use high ISO sensitivities. The difference is probably around 1 1/2 steps compared to the EOS 60D. The 60D also have maybe one step better dynamic range. There are situations when all this could be of importance, but generally it is the photographer who determines the image quality and not the camera and for me good enough is good enough. Always wanting the absolutely best of everything only leads to constant upgrading, when the real limitation is somewhere else than in the camera. Of course, this reasoning might just be a sign that I'm now middle-aged.
Another big difference between the 60D and E-P2 is speed. The 60D with its much faster burst rate and better autofocus is a lot better for action photography. The autofocus of the E-P2 is now pretty fast with the updated firmware and newer lenses (the autofocus speed was quite poor in the beginning), but still not good enough for real action photography. Since don't do action photography, this is not an issue for me.
The new camera also caused me to finally get Adobe's Lightroom software. With Canon cameras I've (barely) managed with the Digital Photo Professional (DPP), but the Olympus software is poor. Lightroom does seem like a very good piece of software and is a lot faster to use than DPP, so it should speed up the processing of the photos (I always shoot RAW) quite a bit. There is a bit of a learning curve to learn to use Lightroom to the fullest, but for now I've found it quite intuitive.
Compared to the EOS 60D with the 15-85mm / 3.5-5.6 lens the new kit is much smaller. The lens in the middle is the 40-150 mm lens. In real life the difference seems even bigger.
The technical image quality is lower in the Olympus MFT system. With sensors of equal quality per surface area, the MFT will give worse quality since it is smaller. With Olympus being a step behind in sensor technology the difference is even bigger. But does it matter? With the pictures from last weekend, I think that you would have to print at a size larger than A3 to start to see any differences, and the quality would probably be very good even at larger sizes. The real difference comes when it is dark and you use high ISO sensitivities. The difference is probably around 1 1/2 steps compared to the EOS 60D. The 60D also have maybe one step better dynamic range. There are situations when all this could be of importance, but generally it is the photographer who determines the image quality and not the camera and for me good enough is good enough. Always wanting the absolutely best of everything only leads to constant upgrading, when the real limitation is somewhere else than in the camera. Of course, this reasoning might just be a sign that I'm now middle-aged.
Another big difference between the 60D and E-P2 is speed. The 60D with its much faster burst rate and better autofocus is a lot better for action photography. The autofocus of the E-P2 is now pretty fast with the updated firmware and newer lenses (the autofocus speed was quite poor in the beginning), but still not good enough for real action photography. Since don't do action photography, this is not an issue for me.
The new camera also caused me to finally get Adobe's Lightroom software. With Canon cameras I've (barely) managed with the Digital Photo Professional (DPP), but the Olympus software is poor. Lightroom does seem like a very good piece of software and is a lot faster to use than DPP, so it should speed up the processing of the photos (I always shoot RAW) quite a bit. There is a bit of a learning curve to learn to use Lightroom to the fullest, but for now I've found it quite intuitive.
Sunday, August 28, 2011
Backpacking test
I went on a short backpacking overnighter with the kids and thought it would be a good opportunity to test the Olympus E-P2 in a real usage situation. There is no way I would have brought the big camera (60D) on an occasion like this. Previously I've used the excellent compact camera Canon S90 for this purpose. A compact camera fits into a pocket or a very small camera bag on the chest strap of the backpack, but the E-P2 is a little too big for that. Instead I put it in a larger camera bag I happened to have and put the bag on the waist belt. This camera bag was a little too big, so I will have to look for something that fits just the camera with a mounted lens as well as another lens.
The camera worked as is should and I had no problems with the autofocus, the traditional achilles heel of cameras with contrast detect autofocus. The new E-P3 should be among the absolutely fastest in this regard for static subjects, the E-P2 is fast enough with the new lenses and new firmware. Only when it was very dark it had trouble, but it was still possible to focus against the horizon. Looking at pictures taken when it was dark revealed some noise even at ISO 200 on pixel level, but there are different levels of noise reduction available both in-camera and in the RAW conversion software and the default one is pretty mild. The noise is not very ugly, though, and looks rather film-like. Without pixel-peeping the noise is not visible.
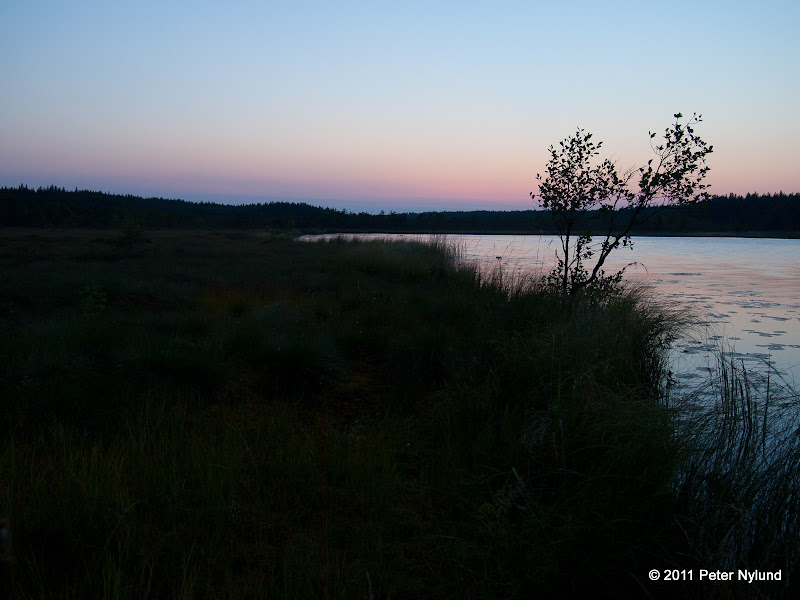
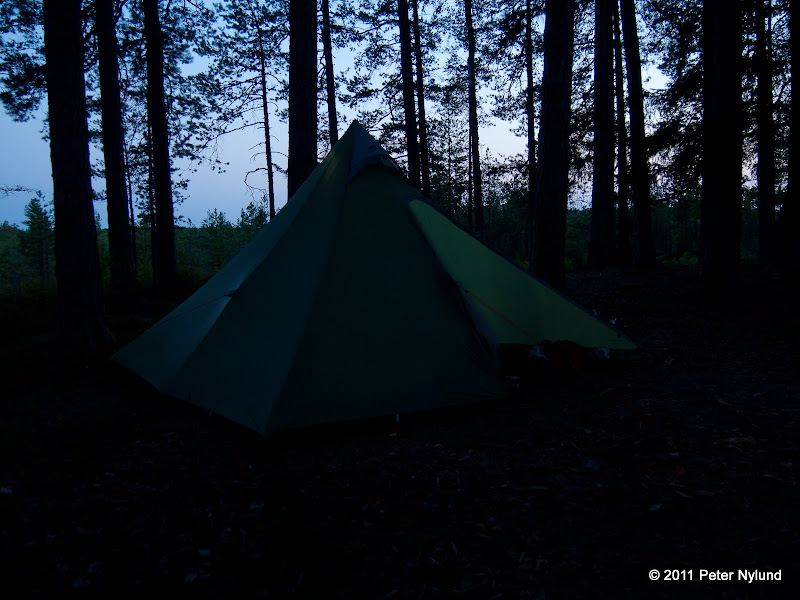
The Olympus RAW conversion software is poor, which I was aware of when I bought the camera. I've planned to buy Lightroom anyway, so it is no big deal. Not even Canon's DPP, which is supposed to be the best of its kind, does everything I need. I have no need for fancy stuff, but it would be nice to get some batch functionality for making the images ready for web and blog use (downsizing and applying an USM filter). I'm downloaded the trial version of Lightroom and now have 30 days to see if I like it. At first it seemed a little overwhelming, since there is a lot that can be done to the pictures. The basic work flow seems easy enough, though, and I think it will be effective and quick to use once one gets acquainted with it.
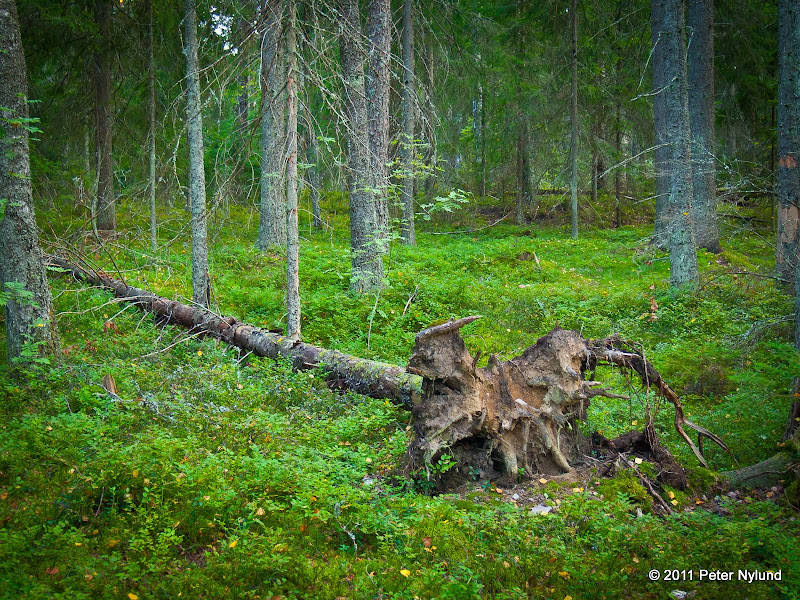
Lightroom also contains a set of effects that can be combined and I plan to experiment a little with them. Without any extra processing this picture was quite unsatisfying, but after applying a few filters I think it is quite interesting.
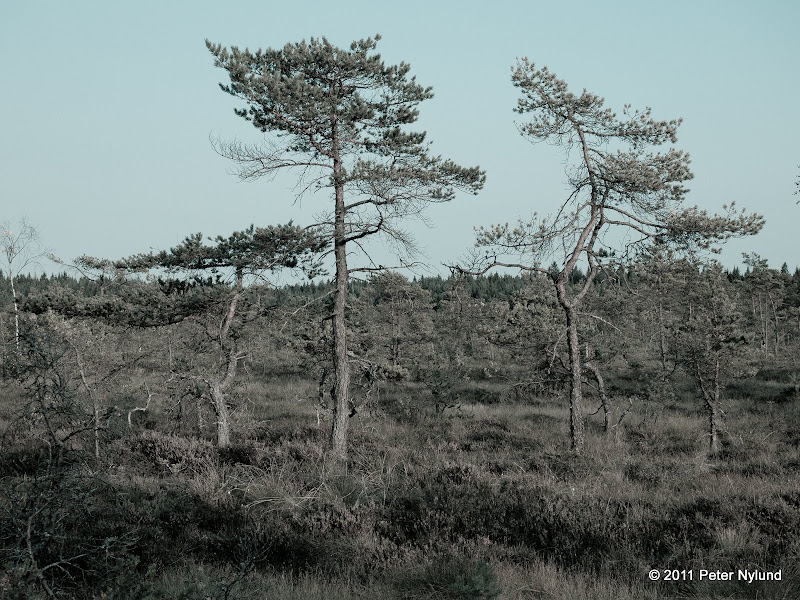
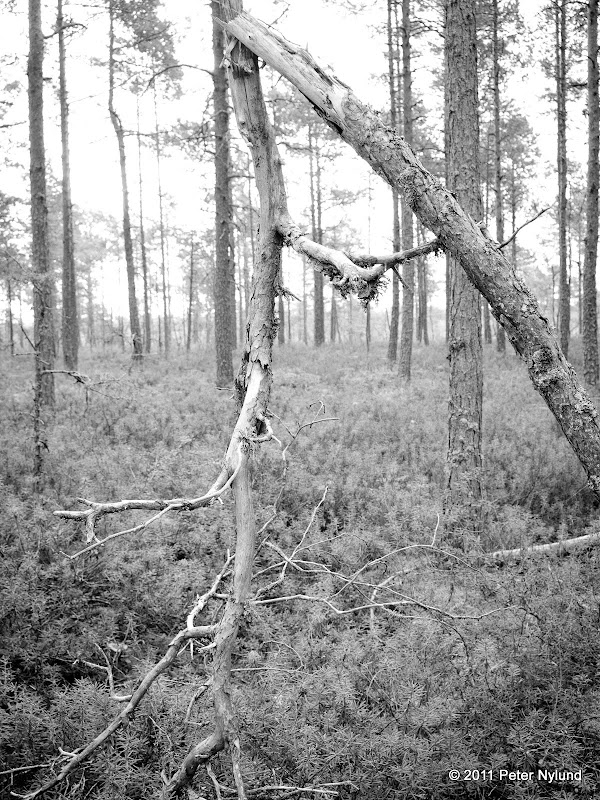
I had planned to take a photo of a lonely bog pine in black and white without anything extra around. but could not find a suitable tree. This was the closest, but it did not look good in black and white, but this version was better.
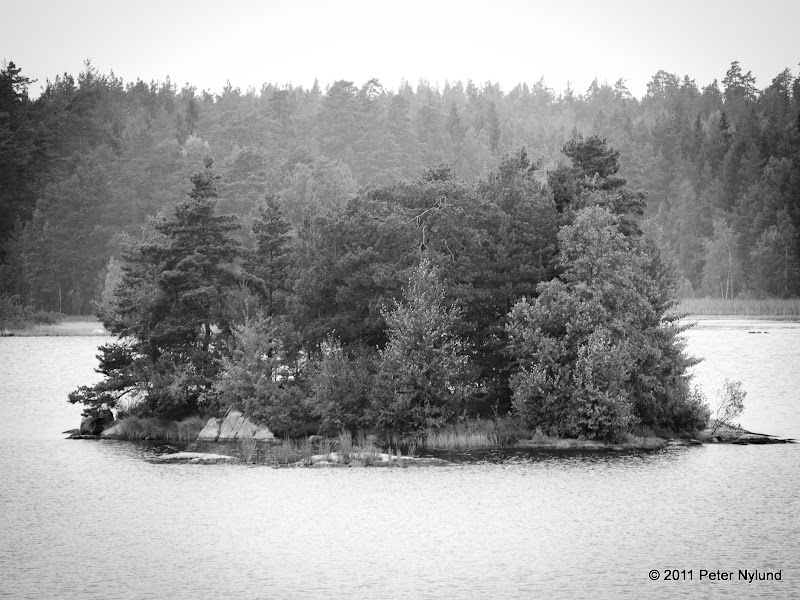
A little black and white.
The camera worked as is should and I had no problems with the autofocus, the traditional achilles heel of cameras with contrast detect autofocus. The new E-P3 should be among the absolutely fastest in this regard for static subjects, the E-P2 is fast enough with the new lenses and new firmware. Only when it was very dark it had trouble, but it was still possible to focus against the horizon. Looking at pictures taken when it was dark revealed some noise even at ISO 200 on pixel level, but there are different levels of noise reduction available both in-camera and in the RAW conversion software and the default one is pretty mild. The noise is not very ugly, though, and looks rather film-like. Without pixel-peeping the noise is not visible.
The Olympus RAW conversion software is poor, which I was aware of when I bought the camera. I've planned to buy Lightroom anyway, so it is no big deal. Not even Canon's DPP, which is supposed to be the best of its kind, does everything I need. I have no need for fancy stuff, but it would be nice to get some batch functionality for making the images ready for web and blog use (downsizing and applying an USM filter). I'm downloaded the trial version of Lightroom and now have 30 days to see if I like it. At first it seemed a little overwhelming, since there is a lot that can be done to the pictures. The basic work flow seems easy enough, though, and I think it will be effective and quick to use once one gets acquainted with it.
Lightroom also contains a set of effects that can be combined and I plan to experiment a little with them. Without any extra processing this picture was quite unsatisfying, but after applying a few filters I think it is quite interesting.
I had planned to take a photo of a lonely bog pine in black and white without anything extra around. but could not find a suitable tree. This was the closest, but it did not look good in black and white, but this version was better.
A little black and white.
Subscribe to:
Posts (Atom)